


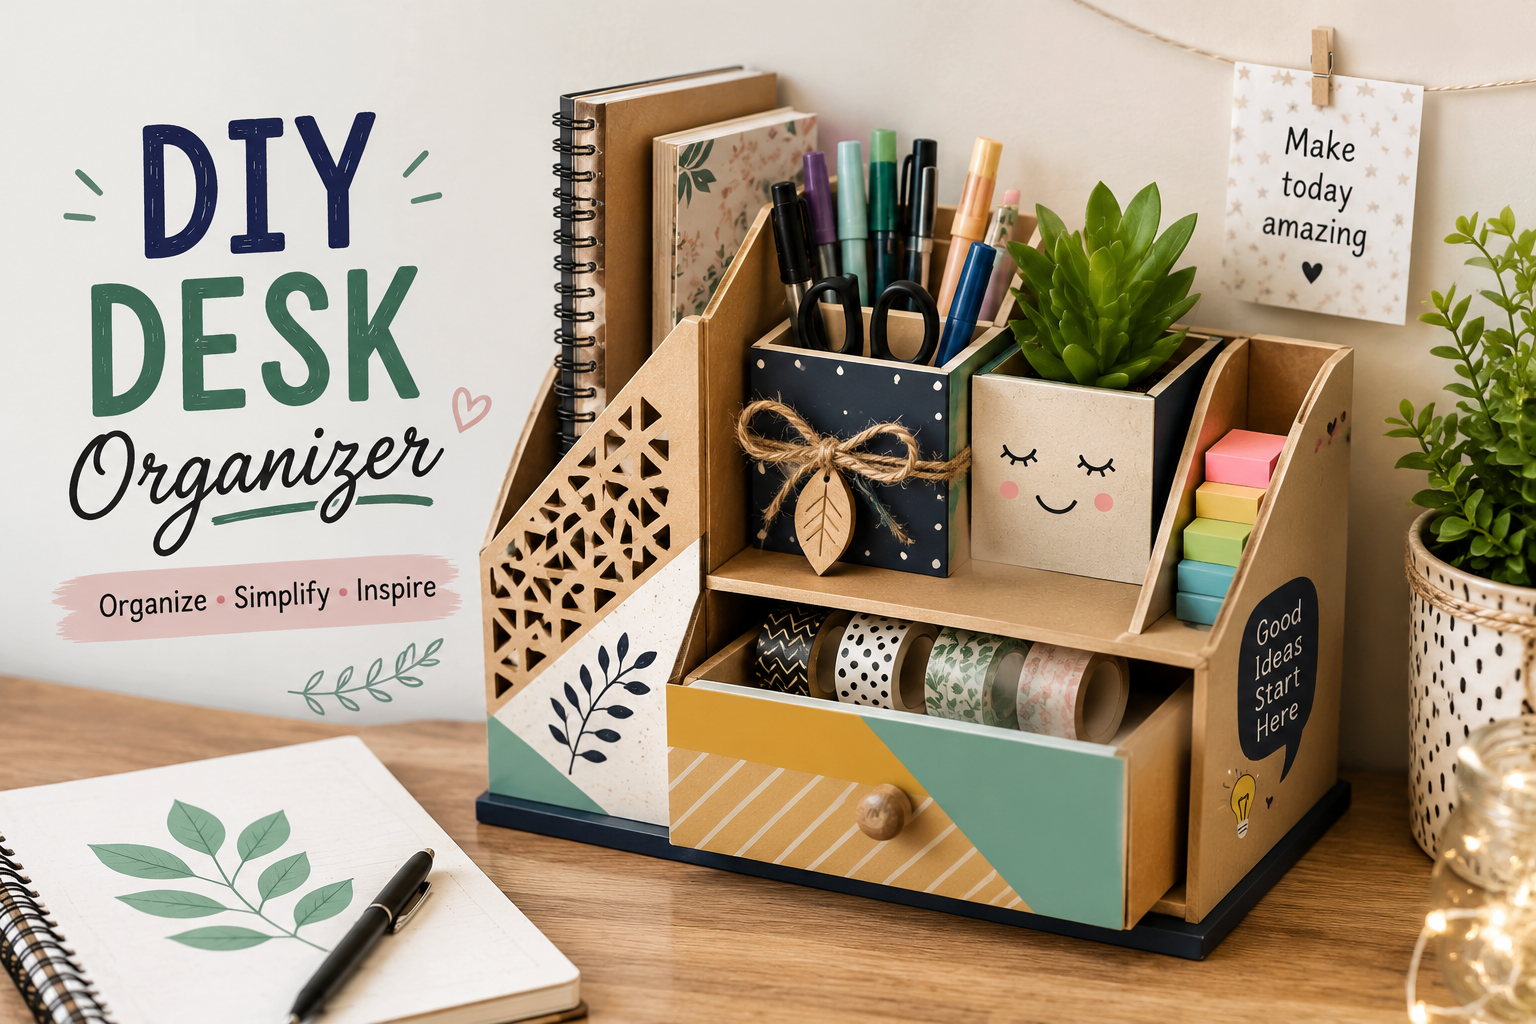
A cluttered workspace can make even simple tasks feel harder. Pens disappear under notebooks, charging cables become tangled, and small stationery items somehow end up everywhere. A simple DIY desk organizer can solve these problems without requiring an expensive storage system.
The best part is that you can make a DIY desk organizer using materials you may already have at home. Cardboard boxes, jars, cans, craft sticks, scrap wood, and paper can all become useful desk storage. You can also customize the size, color, number of compartments, and overall style to match your workspace.
Whether you need a DIY desk organizer from cardboard, a wooden project, or a quick craft for school, the ideas below give you practical options for different budgets, skill levels, and desk sizes.
How to Choose the Right DIY Desk Organizer
Before starting any DIY desk organizer, take a few minutes to understand what your desk actually needs.
First, measure the available space. A large organizer may look attractive but can make a small desk feel even more crowded. For limited spaces, choose a narrow or vertical DIY desk organizer that uses height instead of taking up valuable surface area.
Next, decide what you want to store. Pens and pencils require different compartments from notebooks, cables, headphones, or documents. A useful DIY desk organizer should make frequently used items easy to reach.
Finally, consider your materials and skill level. Cardboard and paper are excellent for beginners, while wood is better if you want a durable organizer that can last for years.
20 DIY Desk Organizer Ideas
1. DIY Desk Organizer From Cardboard
A DIY desk organizer from cardboard is one of the easiest projects to start with. Use a cereal box, shipping box, or shoe box and cut it into compartments for pens, markers, sticky notes, and small stationery.
Cover the cardboard with decorative paper, fabric, or paint to give it a finished appearance. Reinforce the bottom with an additional cardboard layer if you plan to store heavier items.
This type of DIY desk organizer is especially useful for students because it costs very little and can be redesigned whenever storage needs change.
2. Wooden DIY Desk Organizer
A wooden DIY desk organizer is a great choice if durability matters. Use small pieces of plywood or pre-cut craft wood to create compartments for pens, notebooks, scissors, and other supplies.
Sand all edges thoroughly before assembly. If you are new to woodworking, choose a simple rectangular design instead of a complicated project requiring several power tools.
A wooden DIY desk organizer can be stained for a natural appearance or painted to match your home office.
3. Mason Jar Pencil Organizer
Mason jars can become attractive holders for pens, pencils, brushes, and markers. Simply clean the jars, decorate them if desired, and place them together on a tray.
You can turn several jars into a coordinated DIY desk organizer by painting them the same color and labeling each container.
This project works particularly well for artists who need separate containers for brushes, pencils, markers, and scissors.
4. Tin Can Desk Organizer
Empty food cans can be reused as practical storage containers. Clean them thoroughly and make sure there are no sharp edges before decorating them.
Wrap cans with paper, fabric, or adhesive covering, then arrange several together to create a simple DIY desk organizer.
Use different cans for pens, rulers, scissors, and craft supplies. This is an inexpensive way to reduce waste while creating useful desk storage.
5. Popsicle Stick Desk Organizer
Popsicle sticks are inexpensive and easy to work with, making them ideal for a beginner-friendly DIY desk organizer.
Create a small rectangular container by gluing craft sticks around a cardboard or wooden base. Add dividers if you want separate sections for pencils, notes, and small accessories.
This project is also suitable as a school craft because it requires only a few basic materials.
6. DIY Desk Organizer With Drawers
If you have many small items, consider building a DIY desk organizer with drawers. Small drawers can hold paper clips, USB drives, sticky notes, erasers, and other items that would otherwise clutter the desktop.
Use lightweight cardboard for an inexpensive version or thin wood for a more durable design.
Labeling each drawer makes the organizer even more useful because you can quickly find what you need.
7. DIY Desk Organizer With a Phone Stand
Modern desks often need storage for more than stationery. A DIY desk organizer with a phone slot can provide a dedicated place for your smartphone while leaving space for pens and notes.
Add a small opening behind the phone compartment so a charging cable can pass through easily. This simple feature turns an ordinary organizer into a practical charging station.
8. DIY Cable Organizer
Loose charging wires can quickly make a workspace look untidy. Create a DIY desk organizer specifically for cables by using cardboard dividers, small wooden blocks, or recycled containers.
Make separate sections for charging cables, USB wires, earbuds, and adapters.
For a home office, keeping cables separated and labeled can save time and prevent tangled wires from taking over the desk.
9. DIY Desk Shelf Organizer
A desk shelf adds vertical storage without requiring a large amount of floor or desktop space. Build a compact shelf with a lower section for notebooks and an upper section for smaller accessories.
This DIY desk organizer works particularly well when your desk is narrow.
You can also create a slot underneath the shelf for a keyboard, making the design useful for a computer workstation.
10. DIY Pegboard Desk Organizer
A pegboard is a flexible way to create a customizable DIY desk organizer. Attach small containers, hooks, shelves, and clips to the board according to your needs.
Use it for scissors, headphones, cables, notes, and frequently used tools.
The main advantage is flexibility. You can move the accessories whenever your workspace changes.
11. DIY Desk Drawer Organizer
Don’t overlook the space inside your desk drawers. A simple DIY desk organizer made from cardboard or thin wood can divide one large drawer into several useful sections.
Measure the drawer carefully before cutting the dividers. Create compartments based on what you actually store rather than making every section the same size.
This is particularly useful for paper clips, sticky notes, chargers, pens, and other small objects.
12. DIY Paper and Mail Organizer
If paperwork is your main source of clutter, make a vertical DIY desk organizer for documents and notebooks.
Create separate sections for incoming papers, important documents, notebooks, and items that need attention.
A vertical design keeps paper upright and makes it easier to see what you have instead of creating piles across the desk.
13. Rotating DIY Desk Organizer
A rotating organizer provides access to multiple compartments without requiring you to reach across the desk.
Use a rotating craft base and build several storage sections around it. A DIY desk organizer like this is useful for large stationery collections.
Keep frequently used supplies toward the front and less-used items in the rear sections.
14. Wall-Mounted DIY Desk Organizer
When your desk surface is limited, move storage onto the wall. A wall-mounted DIY desk organizer can include small shelves, pockets, hooks, and containers.
This is an excellent solution for dorm rooms, compact bedrooms, and small home offices.
Before mounting anything, make sure the wall and mounting hardware can safely support the organizer’s weight.
15. Recycled Container Organizer
Look around your home for containers that could become a DIY desk organizer. Small food containers, cardboard tubes, boxes, jars, and cans can all be repurposed.
Arrange them into a single storage system instead of leaving them as separate containers. Cover the outside with matching paper or paint for a more coordinated look.
This approach is affordable, sustainable, and highly customizable.
16. Minimalist Wooden Organizer
For a clean workspace, choose a minimalist DIY desk organizer with only a few carefully sized compartments.
Instead of creating storage for everything, focus on essentials such as pens, a phone, sticky notes, and a small notebook.
Natural wood or a neutral finish can complement modern home-office furniture without making the desk look crowded.
17. DIY Desk Organizer for Students
Students often need storage for pens, pencils, highlighters, rulers, calculators, sticky notes, and notebooks. A school-focused DIY desk organizer should provide easy access without taking up too much space.
Use cardboard for a low-cost version or craft wood for something more durable.
You can also create a dedicated section for homework papers and study notes.
18. DIY Desk Organizer for Artists
Artists usually need larger and taller compartments than typical office workers. Design an DIY desk organizer with spaces for brushes, markers, pencils, rulers, scissors, and other creative tools.
Tall containers work well for brushes and long tools, while shallow sections are better for erasers and small accessories.
19. DIY Monitor Stand With Storage
A monitor stand can serve two purposes: raising your screen and creating additional storage.
Build a sturdy DIY desk organizer that fits underneath or around the monitor. Use the space below for notebooks, a keyboard, small stationery, or other accessories.
Make sure the construction is strong and stable enough for the equipment it supports.
20. All-in-One DIY Desk Organizer
If you want one solution for multiple types of clutter, build an all-in-one DIY desk organizer.
Combine a pen holder, phone slot, cable opening, notebook section, small tray, and drawer into one compact unit.
Before permanently attaching anything, arrange the compartments on the desk first. This helps you test whether the size and layout actually work for your routine.
DIY Desk Organizers by Material
The material you choose affects the cost, appearance, durability, and difficulty of your project.
| Material | Cost | Difficulty | Durability | Best For |
| Cardboard | $ | Easy | Medium | Beginners |
| Wood | $$ | Medium | High | Home offices |
| Tin cans | $ | Easy | High | Upcycling |
| Mason jars | $ | Easy | High | Pens and brushes |
| Craft sticks | $ | Easy | Medium | Kids and crafts |
| Recycled containers | $ | Easy | Medium | Budget projects |
Cardboard is the easiest option when you want to make a DIY desk organizer without specialized tools. Wood provides a more polished and durable result, while recycled containers offer an inexpensive way to experiment with different layouts.
Best DIY Desk Organizers for Small Spaces
A small desk needs smart storage rather than simply more storage. Choose a DIY desk organizer that uses vertical space whenever possible.
Wall-mounted organizers, pegboards, narrow shelves, and monitor stands can keep supplies off the main work surface.
Another useful approach is combining functions. For example, a shelf can also hold a phone, a cable, and a few stationery items. This reduces the number of separate objects occupying your desk.
Best Budget-Friendly DIY Desk Organizers
You don’t need expensive supplies to make an effective DIY desk organizer.
For a nearly free project, use cardboard boxes, paper tubes, jars, and cans already available at home. If you have a slightly larger budget, craft wood, paint, decorative paper, and small hardware can create a more polished result.
The key is to spend money on materials that improve durability or functionality rather than adding unnecessary decoration.
DIY Desk Organizers Without Power Tools
Not every DIY desk organizer needs a drill, saw, or complicated woodworking equipment.
Beginners can work with:
- Cardboard
- Paper
- Foam board
- Popsicle sticks
- Recycled containers
- Pre-cut craft wood
If you want a wooden project but don’t own woodworking tools, buy pre-cut pieces and focus on sanding, gluing, painting, and assembly.
How to Make Your Organizer Look Better
Function comes first, but appearance matters too. A well-designed DIY desk organizer can become part of your workspace decor.
Paint the organizer in a color that complements your desk. Decorative paper can transform plain cardboard, while labels make compartments easier to use.
For wooden projects, sanding is one of the most important finishing steps. Smooth surfaces look better and are more comfortable to handle.
You can also add felt pads underneath a DIY desk organizer to protect the desk surface from scratches.
How to Organize Your DIY Desk Organizer
Once you finish your project, don’t fill every compartment simply because space is available.
Keep items you use every day in the easiest-to-reach sections. Put weekly-use supplies slightly farther away and rarely used items into drawers or hidden storage.
For example, pens and sticky notes can stay on top, while spare cables and extra stationery can go into lower compartments.
The best DIY desk organizer is one that makes your daily routine easier rather than simply giving you more places to put clutter.
Common DIY Desk Organizer Mistakes to Avoid
A few simple mistakes can make an organizer less useful.
First, don’t skip measurements. A DIY desk organizer that is too large can reduce your usable workspace.
Second, avoid making every compartment the same size. Different items require different amounts of space.
Third, don’t ignore stability. A tall organizer should have a strong base so it doesn’t tip over.
For cardboard projects, reinforce areas that carry weight. For metal containers, make sure sharp edges are covered or safely finished.
Finally, don’t create storage for items you rarely use. Decluttering before building the DIY desk organizer will help you create a smaller and more efficient design.
How to Customize Your Organizer
One advantage of a homemade DIY desk organizer is that you can design it around your exact needs.
For students, add sections for highlighters, calculators, notebooks, and study supplies.
For home offices, include space for documents, chargers, headphones, and phones.
Artists may need deeper compartments for brushes and markers, while gamers may want dedicated areas for controllers, headphones, and cables.
You can also change the color, finish, dimensions, and number of compartments. This makes a DIY desk organizer much more adaptable than a generic store-bought product.
DIY Desk Organizer Comparison
| Project | Difficulty | Approx. Time | Cost | Best For |
| Cardboard organizer | Easy | 30–60 min | $ | Beginners |
| Mason jar holder | Easy | 15–30 min | $ | Pens |
| Tin-can organizer | Easy | 20–40 min | $ | Upcycling |
| Wooden organizer | Medium | 1–3 hrs | $$ | Home office |
| Cable organizer | Easy | 20–45 min | $ | Electronics |
| Drawer divider | Easy | 30–60 min | $ | Small items |
| All-in-one organizer | Medium | 2–4 hrs | $$ | Full workspace |
Conclusion
A good DIY desk organizer doesn’t have to be complicated or expensive. The right project depends on your desk size, storage needs, available materials, and crafting experience.
Cardboard and recycled containers are excellent starting points, while wood can provide a durable long-term solution. If space is limited, choose vertical or wall-mounted storage. If cables are your biggest problem, create dedicated compartments for electronics.
Most importantly, design your DIY desk organizer around the way you actually work. When every frequently used item has a logical place, keeping your workspace tidy becomes much easier.
Frequently Asked Questions
1. What can I use to make a DIY desk organizer?
You can use cardboard, wood, jars, cans, craft sticks, paper, foam board, and recycled containers. Cardboard is one of the easiest materials for beginners.
2. How do you make a simple desk organizer at home?
Start by measuring your available space and deciding what you need to store. Cut your chosen material into compartments, assemble the pieces, reinforce the base, and finish the surface with paint or decorative paper.
3. How do I make a DIY desk organizer from cardboard?
Use a sturdy cardboard box or several pieces of corrugated cardboard. Cut compartments for your supplies, glue them together, reinforce the bottom, and cover the finished organizer with paper or paint.
4. What is the best DIY desk organizer for a small space?
Vertical organizers, wall-mounted storage, pegboards, narrow shelves, and monitor stands are excellent choices because they use height instead of consuming a large amount of desk space.
5. Can I make a DIY desk organizer without power tools?
Yes. Cardboard, paper, craft sticks, jars, cans, and pre-cut wood can all be used without power tools. These options are especially suitable for beginners.
6. How can I organize cables on my desk?
Create separate sections for charging cables, USB cables, earbuds, and adapters. A small compartment-based organizer or dedicated cable holder can prevent wires from becoming tangled.
7. How can I make my DIY desk organizer look professional?
Use consistent colors, smooth edges, accurate measurements, clean labels, and a simple design. For wood, sanding and a quality finish can make a major difference.
You May Also Read: DIY Photo Frame Ideas
