


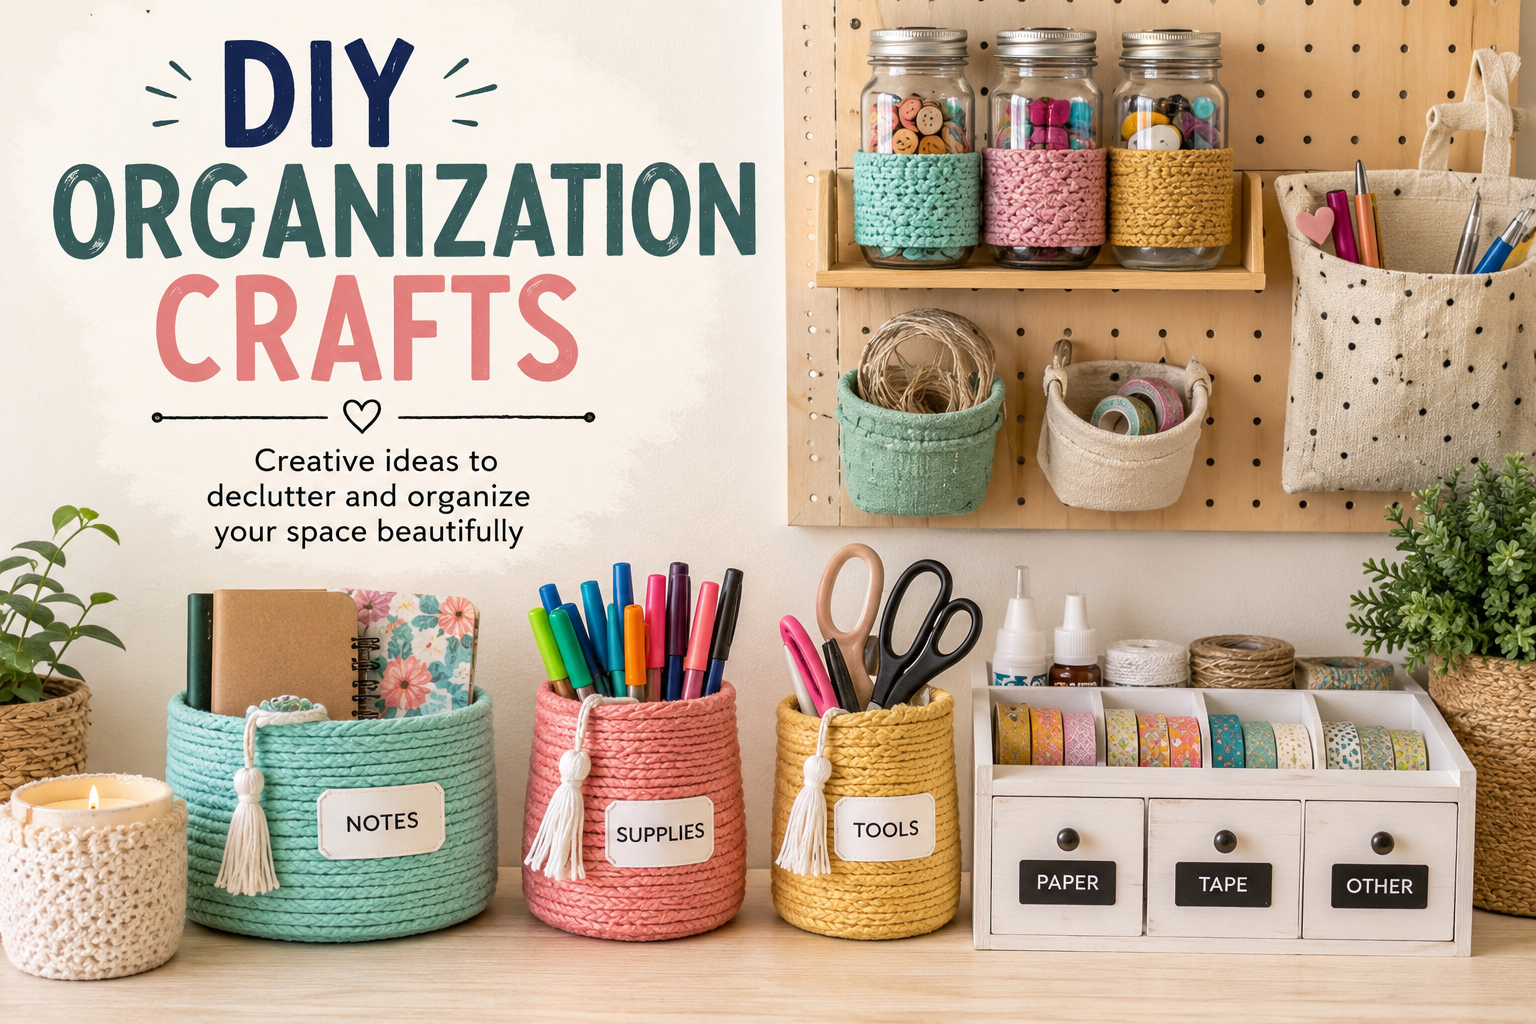
Keeping craft supplies organized can feel like a craft project of its own. Paper piles up, ribbons tangle, markers disappear into drawers, and small items such as buttons and beads somehow end up everywhere. The good news is that you do not need an expensive craft room or a collection of matching storage bins to regain control.
These DIY organization crafts turn everyday materials into useful storage while making your workspace easier to use. Many projects can be adapted for apartments, bedrooms, shared desks, kids’ spaces, or dedicated craft rooms. You will also find ideas for DIY organization crafts for kids, adults, small spaces, and different types of craft supplies.
Before making anything, remember one simple rule: organize around the way you actually use your supplies. Frequently used tools should stay within easy reach, while seasonal or rarely used materials can go into closed storage.
Before You Start: Declutter Your Craft Supplies
The best DIY organization crafts cannot fix a storage problem caused by too much stuff. Start by emptying one drawer, shelf, or container at a time and sorting everything into five groups:
- Keep
- Donate
- Recycle
- Throw away
- Move elsewhere
Group similar supplies together after decluttering. Put ribbons with ribbons, paper with paper, paint with paint, and sewing supplies with sewing supplies.
Then think about frequency. Scissors, glue, markers, and favorite tools should be easy to grab. Extra fabric, seasonal decorations, and unfinished projects can be stored farther away.
A useful rule is to give every category a permanent home before you start making DIY organization crafts. This prevents you from creating attractive storage that does not actually solve your clutter problem.
Easy DIY Organization Crafts for Beginners
If you are new to homemade storage, start with materials that are inexpensive and easy to work with.
1. Cereal Box Paper Organizer
Save sturdy cereal boxes and cut one side at an angle to create magazine-style holders. Cover them with wrapping paper, scrapbook paper, or leftover wallpaper.
Use them for cardstock, coloring pages, magazines, patterns, or notebooks. This is one of the easiest DIY organization crafts because it requires very few materials.
2. Tin Can Supply Holder
Clean empty cans thoroughly and cover the outside with paper, fabric, or paint. Use them to hold paintbrushes, pens, crochet hooks, rulers, or scissors.
Make sure the rim is smooth and safe before using the container. Several decorated cans can also be attached to a board to create a simple wall organizer.
3. Mason Jar Organizer
Mason jars are ideal for small craft supplies. Use them for buttons, beads, clips, pom-poms, embroidery floss, or paintbrushes.
Clear containers are especially helpful because you can see what is inside without opening every box.
4. Cardboard Drawer Dividers
Cut strips of sturdy cardboard to match the inside dimensions of a drawer. Create a simple grid and use each section for a different supply.
This works particularly well for beads, stickers, sewing accessories, craft tools, and other small items.
DIY Craft Room Organization Ideas
A dedicated craft room gives you more options, but good organization still depends on using the available space intelligently.
5. DIY Pegboard Organizer
A pegboard turns an empty wall into useful storage. Add hooks, baskets, small shelves, and containers for scissors, brushes, tape, rulers, and frequently used tools.
Arrange the items you use most often around eye level. This makes the workspace faster to reset after a project.
6. DIY Ribbon Organizer
Ribbon can quickly become tangled when stored in a box. Create a simple holder using dowels, hooks, or a recycled box.
Arrange rolls by color or width and leave enough space to pull out one ribbon without disturbing the others.
7. DIY Thread Organizer
A basic wooden board with small pegs can hold spools of thread. Another option is a recycled frame fitted with hooks.
Arrange colors together so you can quickly find what you need. These DIY organization crafts are especially useful for sewing and embroidery enthusiasts.
8. DIY Craft Supply Wall Organizer
Combine jars, hooks, small baskets, and shelves on one wall. Use the upper section for less frequently used supplies and keep daily tools lower down.
This approach is particularly helpful when your craft room is short on floor space.
DIY Organization Crafts for Small Spaces
You do not need an entire room for an organized crafting area. A desk corner, closet, door, or unused wall can become a functional supply station.
9. Behind-the-Door Organizer
Attach removable hooks or use a hanging pocket organizer on the back of a door. Store lightweight supplies such as stickers, yarn, ribbon, scissors, and small notebooks.
This is one of the most useful DIY organization crafts for small spaces because it uses an area that is often ignored.
10. Under-Desk Storage
Use shallow boxes or hanging organizers beneath a desk. Store paper, vinyl, fabric, project folders, or tools that you do not need constantly.
Keep enough legroom available so the storage does not make the workspace uncomfortable.
11. Vertical Wall Storage
When floor space is limited, think upward. A narrow shelf, pegboard, or rail can provide several storage levels without taking up much floor area.
Vertical solutions are among the most practical DIY organization crafts for apartments and bedrooms.
12. Corner Craft Station
An unused corner can hold a narrow shelf, small rolling cart, or vertical organizer. Place your most-used supplies at the front and reserve higher shelves for backup materials.
13. Under-Bed Craft Storage
Low boxes or flat containers can hold seasonal supplies, extra fabric, scrapbook paper, and unfinished projects.
Label each container clearly so you do not have to pull everything out when looking for one item.
DIY Organization Crafts Using Recycled Materials
Upcycling can make organization cheaper while giving unwanted household items a second purpose.
14. Shoebox Storage Bins
Cover sturdy shoeboxes with decorative paper and add labels. Use them for craft projects, fabric scraps, patterns, or seasonal supplies.
15. Old Jars for Small Supplies
Instead of buying another organizer, clean food jars and reuse them for buttons, beads, clips, or sequins.
These DIY organization crafts are almost free and can be customized with labels or paint.
16. Old Magazine Holder Organizer
Repurpose magazine holders for rolls of paper, cardstock, coloring books, vinyl, or craft magazines.
Keep them vertically arranged on a shelf so materials remain visible and easy to pull out.
17. Cardboard Box Storage
Small delivery boxes can become storage containers for larger supplies. Cut them down to a useful height and cover them with decorative paper.
This is particularly useful when you need several matching containers without spending much money.
DIY Organization Crafts for Different Craft Supplies
Different materials need different storage solutions. A single system rarely works for everything.
Sewing Supplies
Use small jars or compartment boxes for buttons, needles, pins, and clips. Keep thread grouped by color and store fabric in labeled drawers or bins.
Scrapbooking Supplies
Vertical paper holders work well for cardstock and scrapbook sheets. Small containers can hold stickers, stamps, embellishments, and washi tape.
Painting Supplies
Use decorated cans or jars for brushes. Keep paint tubes together and separate frequently used colors from specialty paints.
Cricut Supplies
Store vinyl rolls vertically or in dedicated tubes. Keep cutting tools, mats, transfer tape, and blades in separate labeled areas.
Yarn and Crochet Supplies
Use baskets or fabric bins for yarn and smaller containers for hooks and stitch markers. Sort yarn by project, color, or weight depending on your crafting habits.
These supply-specific DIY organization crafts make it easier to find materials and reduce duplicate purchases.
DIY Organization Crafts for Kids
Kids’ craft areas need storage that is simple enough to maintain.
18. Color-Coded Crayon Cups
Use decorated cups or recycled cans for crayons, colored pencils, and markers. Assign one container to each color group if you have a large collection.
19. Portable Art Caddy
A small box or handled container can hold glue, scissors, crayons, markers, and paper. Children can carry it to the table and return it afterward.
20. Hanging Pocket Organizer
Use labeled pockets for stickers, coloring sheets, craft foam, and small activity supplies.
When creating DIY organization crafts for kids, avoid making the system too complicated. Easy access and simple labels usually work better than elaborate storage.
Sharp tools, hot glue, strong adhesives, and other potentially unsafe materials should remain out of children’s reach.
DIY Organization Crafts for Adults
Adults often need organization that handles larger collections and specialized tools.
21. Tool Caddy
Create a divided caddy for scissors, rulers, brushes, glue, cutting tools, and other frequently used equipment.
22. Project Box System
Give each unfinished project its own labeled box or container. Include the materials, instructions, and tools needed for that project.
This prevents half-finished projects from spreading across your desk.
23. DIY Desk Organizer
Combine small boxes, cans, and cardboard compartments to create a customized desk organizer for pens, sticky notes, scissors, clips, and craft tools.
These DIY organization crafts for adults can make a shared desk function as both a workspace and a crafting station.
Budget-Friendly DIY Organization Crafts
You do not have to spend much to get organized. Start with items already available at home.
| Project | Main Material | Approx. Cost | Difficulty | Best For |
| Cereal box organizer | Cereal boxes | 0–3 | Easy | Paper |
| Tin-can holder | Empty cans | 0–5 | Easy | Tools |
| Jar organizer | Reused jars | 0–5 | Easy | Small supplies |
| Drawer dividers | Cardboard | 0–5 | Easy | Beads, clips |
| Pegboard organizer | Pegboard | 10–25 | Medium | Tools |
| Craft caddy | Box/container | 0–10 | Easy | Portable storage |
Prices are approximate and depend on what you already have and where you shop.
For truly low-cost DIY organization crafts, begin with cereal boxes, jars, packaging, cans, cardboard, and containers that are already sitting around your home.
Organize Your Craft Space by Workflow
A beautiful storage system is not automatically a useful one. Think about what you do during a typical project.
For example, if you frequently paint, keep brushes, paint, water cups, palettes, and protective materials close together.
If you sew, keep scissors, thread, needles, measuring tools, and fabric within the same general station.
This workflow approach is one of the smartest DIY organization crafts strategies because it reduces unnecessary movement and makes cleanup easier.
Store Unfinished Projects Separately
Unfinished crafts are a major source of clutter. Create a “current projects” area using labeled boxes, folders, or baskets.
For example, a Christmas card project could have one container holding cardstock, stamps, ribbon, embellishments, and ink.
Instead of leaving everything on the desk, return the project to its container when you finish for the day.
Common DIY Organization Mistakes to Avoid
Even good DIY organization crafts can fail when the system is difficult to maintain.
Avoid these mistakes:
- Organizing before decluttering
- Making too many tiny categories
- Storing daily-use items too far away
- Forgetting labels
- Ignoring vertical space
- Using containers that are too deep
- Choosing appearance over accessibility
- Creating a system that takes longer to maintain than the original mess
Your storage should make crafting easier, not become another project you have to manage.
How to Keep Your Craft Organization Organized
Once your DIY organization crafts are finished, establish a simple reset routine.
Spend five minutes after each crafting session returning tools to their homes. Put scraps away, close containers, and return unfinished projects to their designated boxes.
Once a month, check your supplies for dried-out products, duplicates, broken tools, and materials you no longer use.
A simple organization system that you maintain consistently will outperform a complicated setup that only looks perfect on the first day.
Quick Comparison: Which DIY Organizer Should You Choose?
| If You Need To Organize… | Try This |
| Paper | Cereal box organizer |
| Tiny supplies | Mason jars |
| Tools | Pegboard or caddy |
| Ribbon | Ribbon holder |
| Drawers | Cardboard dividers |
| Small room | Vertical wall storage |
| Kids’ supplies | Portable art caddy |
| Unfinished projects | Labeled project boxes |
| Sewing supplies | Compartment storage |
| Desk clutter | DIY desk organizer |
Conclusion
The best DIY organization crafts are not necessarily the most complicated ones. A cereal box can organize paper, a jar can hold beads, and a simple pegboard can transform an empty wall into a useful craft station.
Start by decluttering, identify the supplies you use most, and choose storage based on your actual workflow. Whether you have a dedicated craft room, a small bedroom desk, or only one closet shelf, practical DIY organization crafts can help you create a space that is easier to use and easier to maintain.
Choose one small area today and make one organizer. Once that space works, build the rest of your system around
Frequently Asked Questions
What are the easiest DIY organization crafts for beginners?
Start with cereal box organizers, mason jars, tin-can holders, and cardboard drawer dividers. They require basic materials and little crafting experience.
How can I organize craft supplies in a small space?
Use vertical walls, the back of doors, under-desk areas, corners, and under-bed storage. Keeping frequently used items within easy reach is especially important.
What can I use instead of expensive craft storage containers?
Try cereal boxes, shoeboxes, jars, cans, cardboard packaging, and old magazine holders. These materials can become attractive storage with paper, paint, labels, or fabric.
What are good DIY organization crafts for kids?
Color-coded crayon cups, portable art caddies, labeled boxes, and hanging pocket organizers are simple choices. Keep sharp tools and potentially hazardous materials away from children.
How should adults organize craft supplies?
Adults with larger collections should organize supplies by craft type, frequency of use, or workflow. A project-box system can also prevent unfinished crafts from creating clutter.
How do I organize a craft room on a budget?
Declutter first, reuse household containers, and prioritize inexpensive vertical storage. Make only the organizers you actually need rather than creating storage for every possible category.
How do I keep my craft space organized?
Give every supply a permanent home and perform a quick reset after each project. A five-minute cleanup routine can prevent small amounts of clutter from becoming overwhelming.
You May Also Read: Easy Crafts to Make and Sell
